https://www.youtube.com/watch?v=UGCiQySjIp4
How to Draw a Manga Face - 3 Different Angles [Female]
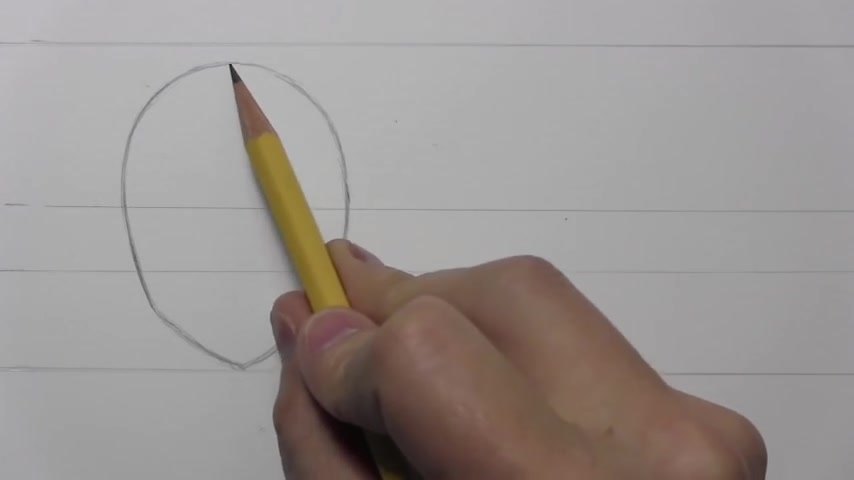
Now this is good now and the ears on the right side , it's about take , take probably take this much on the left side , it's about take this much .
So the whole phase without ears is about like this roughly and on the top over here , it open up a little bit and with this kind of curve and open up a little bit .
So now come down to the proportion .
We're not learning the drawing the portrait yet .
But I want to tell you their humans face proportion .
Now , I'm gonna find out where the ST the hairline because his face tilted a little bit low .
So I'm gonna see that the hairline , I'm gonna measure the hairlines is between the top of the hair to where the hair started , right .
So when I'm gonna do a little , I'm gonna do a little measurement .
Don't worry , you don't have to do here .
Hold on it actually , exactly a quarter .
Do you know what is this ?
A quarter ?
I can divide it into here because his face to be a little bit lower , so I can divide that right quarters .
Now , this one a little bit higher .
Now you can see the proportion actually become very important and that is important in any object that you're gonna draw .
Now , the hairline starting over here on the top , it looks like this , that's the top , it's already gone .
And also from the hairline to the chin , you can divide into three proportions and that's perfect .
Now , three right at the bottom .
So you can divide into actually five , the five eyes , the middle between the two eyes usually have the same width as the one I space .
So let's see .
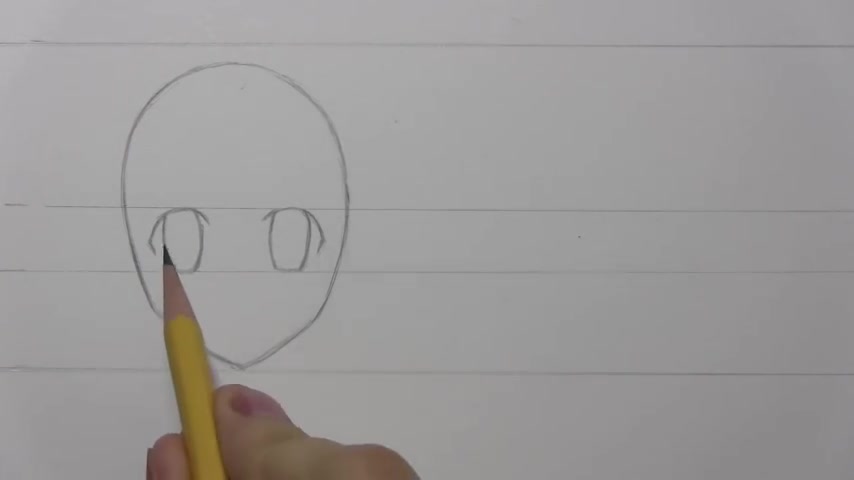
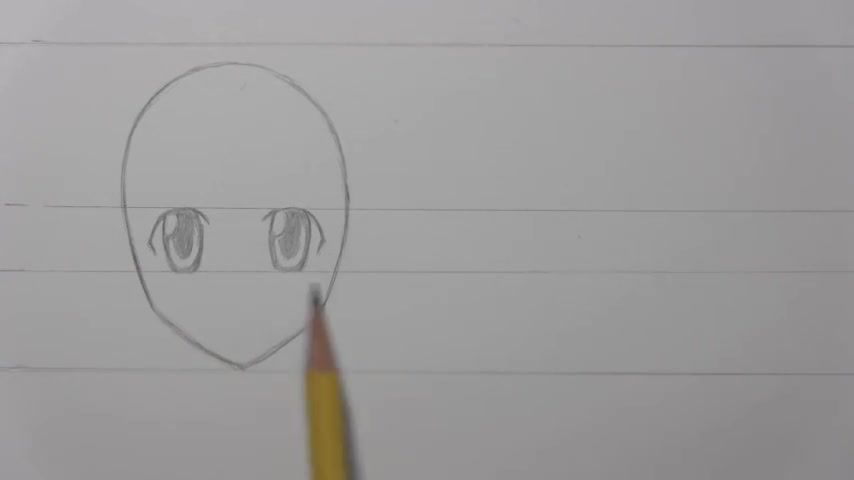
Now I'm gonna see that his eye is sitting here .
I know some people like to draw the eye from inside out .
Uh But you have to know exactly what the location of the eye before you can draw the details of the eye .
And uh over here now , you can see the whole shape of the eye like this and the is is right inside over here , you can remove that line , compare the width of the nose to the corner of the eyes you can compare oh it's a little bit wider than one ice space .
Now , you can see locate that from the top , drawing it down .
You can find that this is all simple proportion measurement .
Right .
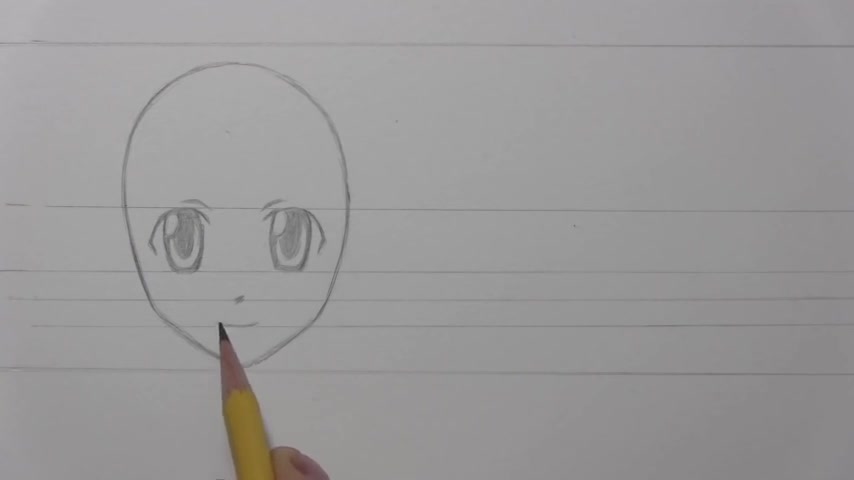
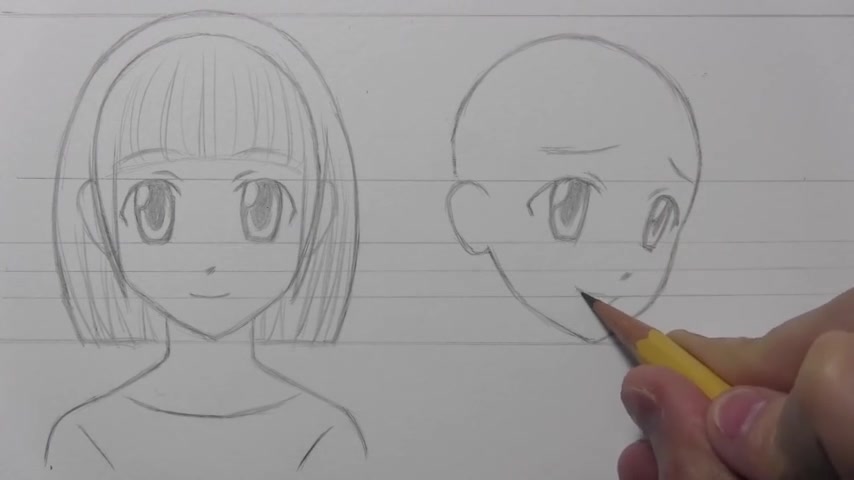
Now , when you're looking at the mouth , the mouse is almost like the same width and is the nose just a little bit wider and just on that , this is the location , there's the upper lip , the lower lip and right here .
And this is the chin , where are the ears ?
Because his face too down a little bit , the ears .
If , if his face is a little bit lift up a little more , the ears is pretty close to the eyebrows , the eyebrows line the top , ok .
The bottom way is it is close to the bottom of the nose .
So that is uh , the general guideline for the ears .
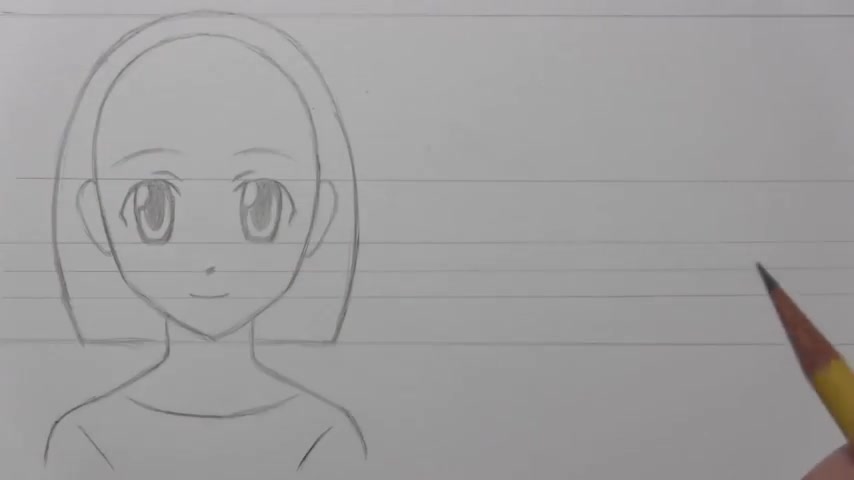
But one thing that I think holds true is that you need to get the facial features in the same location every time you draw the face .
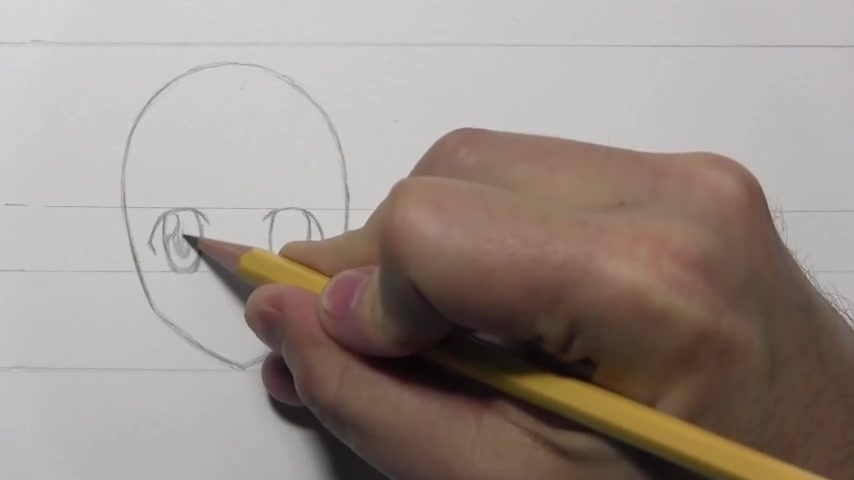
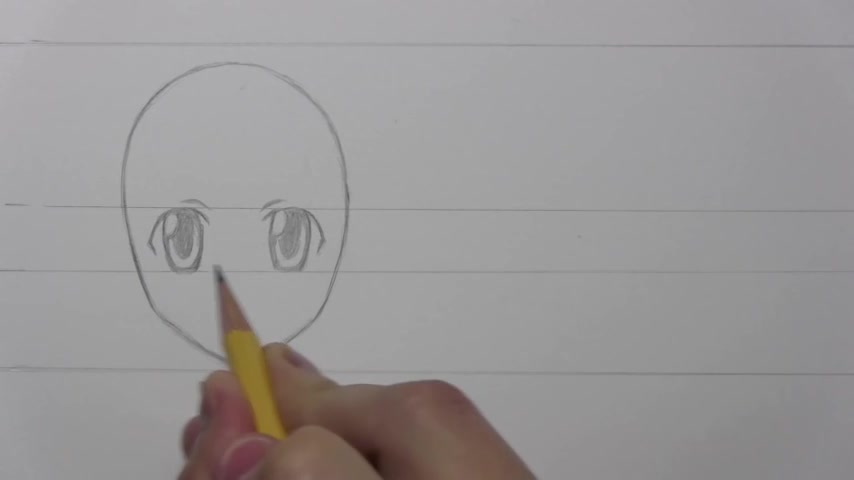
So you can see here that I have these lines for the top of the eye and the bottom of the eye .
And that's um helping me get that uh those eyes uh in the exact same place , especially as we move from this drawing to the the other two .
And we start looking at the character from a different point of view .
But you know , if you want to draw these partic particular eyes , you can see how I did it .
There's a highlight uh on uh each eye uh in my case , on the left and then I sort of leave a white space down here , sort of crescent shaped white space .
One other thing that I often see uh manga artists do is to add a line or two here for the uh fold of the upper eyelid and this particular style of drawing eyes , we don't really um delineate .
So this is good on this side is the same and a little bit over here and coming down close to the bottom of the nose .
I like that .
Ok .
Now we got the general proportion .
Now it's already there .
Now , the next thing is become simple .
It's a very much the simple thing that you draw from on the apple , draw a bellow , draw something you have to go through this step to find out the proportion relationship .
Now , the next thing I'm gonna do just watch me .
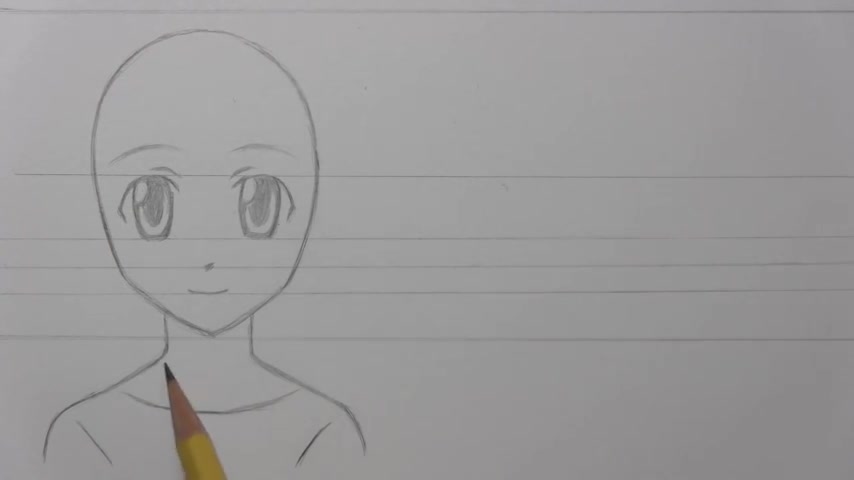
Ok , I'm gonna start putting some shapes .
That's the neck over here and coming down here and the shoulder lines about start over here and on this side .
Yeah , the shoulder starting in this location like that , that's good .
Now , there are shadows on the light side on the neck .
You can see that the light side and the shadow side is separated because the light lighting and coming to the lift the mouth here I can see that the light side is lighter .
You see the shadow coming over here , his chin has a little bit of four shape over here .
You can see that you can find it simple shape .
We're gonna talk about shape , shape , shape later and the nose is a little bit rounded and there's the natural right here .
You can see that the natural is right here and on this side of the nose a little bit darker because of the shadow side and I come back , come up to the eye .
Now I'm gonna fine tune the eye a little bit .
Ok .
It's almost there .
Give me a couple of minutes , it will be there , ok ?
The eyes and the eyebrows , you can see that the shape eyebrows over here , this a little bit darker and coming to this side and so on .
This is the eyebrows .
Now , we did not pay attention to the shape of the eyebrows .
Now , we do a simple thing and look at the eye and coming like this , the corner , ok ?
And under at the lower island a little bit darker over here .
So now we have the time to spend to look at the details .
We did not spend the time on the details because we're busy on something else and the bigger shape .
Now we're coming to the top over here , the forehead also around it right now , we can see that you see the shadow side over here .
Yes .
Now we do a little bit for the ears , the ear and the shadow side .
You don't see much details , but you don't have to draw too much .
You see that pretty easy .
You got the ear , you got the face over here .
Now , face a little close in a little bit like that on this side of the face also a little bit darker because the shadow side .
Do you see someone on the face on the page already ?
It looked like him , right and easy .
Right .
And on this side , I'm gonna do uh a little bit of like a little bit details and this the show that come up a little bit .
Oh Wow .
Now you believe me , if you follow the steps , one step at a time , you can do the same thing as you do any of those objects .
And uh if her bangs uh come lower down on the face than her eyebrows , then again , I need to be uh consistent from one drawing of her to the next .
And um that's maybe about , about all I'm gonna say about the hairstyle .
I , I don't want this to be a 30 minute long video uh which it could easily be if I start uh talking about each and every aspect uh of all three drawings .
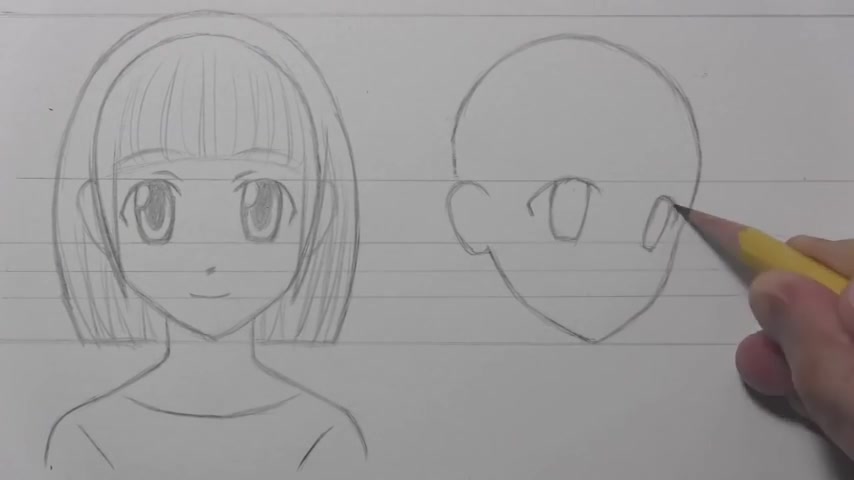
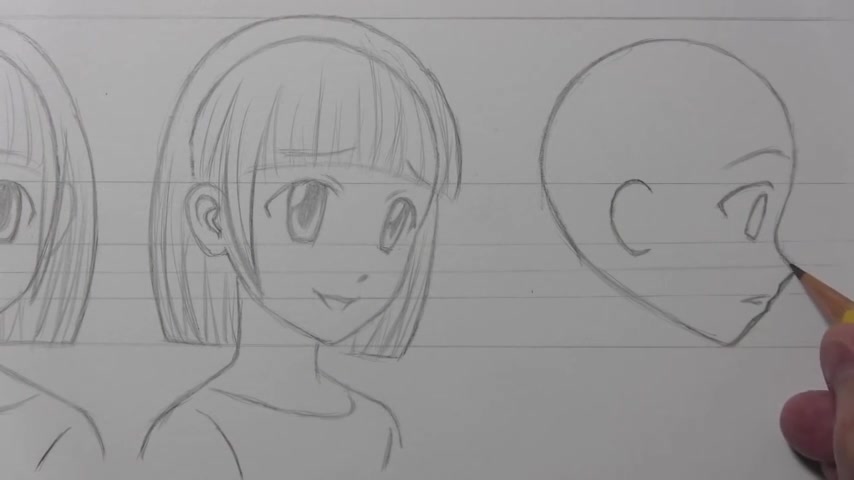
So let's go ahead now and move on to getting down to some of the basic guidelines uh for the head that's gonna be in a three quarter point of view .
All right .
So I decided to go ahead and get the basic guidelines of the eyes in place and this head uh in , in a three quarter point of view is also gonna be just a little bit of a tilt .
Uh And so that means that this eye here is not gonna be reaching that um uh guideline up there .
But this first eye , we're gonna keep pretty consistent uh with uh you know , the guidelines uh for the eyes over there .
Um I'll go ahead and um add these um interior eye uh features while I uh talk a little more about this idea of consistency in terms of drawing a character .
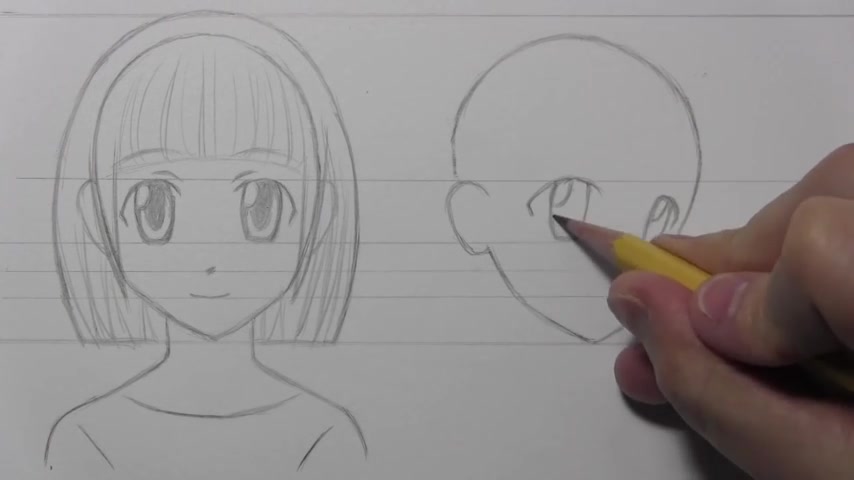
Now , you may be wondering , Mark , do you sit here and draw guidelines like this every time you draw your character like in Brodie's Ghost or whatever ?
Well , no , that is not um what I'm doing , but this is something I might be doing in , in the early stages of designing my character when I'm practicing when I'm preparing uh for doing this story , I gotta figure out the sort of geography of the face , the architecture of this face and where are the eyes ?
Uh um How large are they in relation to the rest of the face ?
How am I gonna draw the nose , all this stuff here .
This is stuff for the preparatory stages .
And um you know , you , you may in a sort of a thumbnail way be reminding yourself .
Oh , well , the eyes should , the top of the eye should never be higher than halfway between the , you know , the hair and the chin .
You might have sort of rules of thumb that you are uh consulting every once in a while , double checking to make sure that you're doing it right .
But I anyway , the basic message really is um you don't just sort of wing it and hope that your character looks the same way every time you draw it , uh artists who have consistency in the way they draw their characters , uh have that consistency because they have , you know , done the extra work of , of planning it out and , and making sure that they look the same , um you know , from one to the next by having a sort of a structure like this in place .
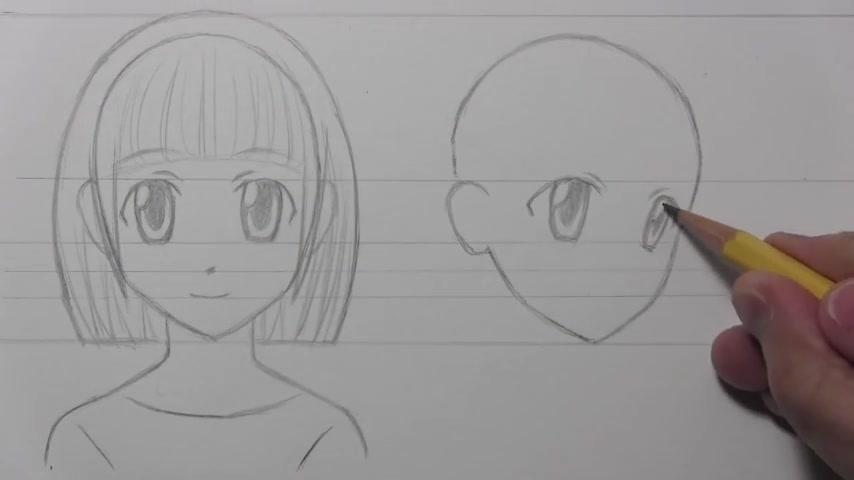
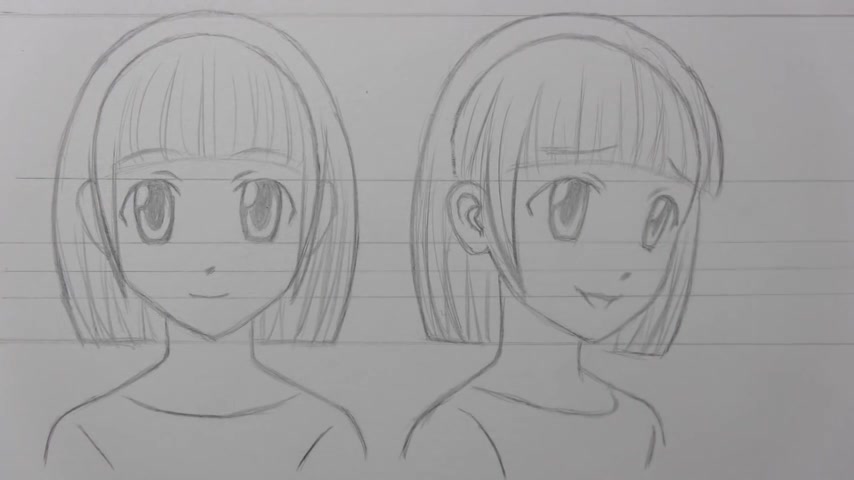
Now , I've put the , the dot of the nose just a little below the line where I had it here again because the no , the face is at a tilt and uh I did talk about how I wanted to give facial expressions .
So I thought this time it might be kind of fun to give this girl a uh slightly embarrassed look on her face and that means um curving up eye brows , curving up Yeller .
We want them to be very curving up .
Y and then um that is combined with a uh a of some kind and that makes her look a little bit shy and embarrassed and , oh my gosh , I'm sorry , I didn't mean for you to see the Valentine card I was making for you .
Anyway , everyone in this like Mark , please don't ever do that voice again .
Never again .
Um And uh yeah , interestingly the this mouth is sort of ending up at , around the same , uh , line .
The upper lip is .
Anyway , I often am struggling with getting these , you know , relationships , um , uh , right between the nose , the mouth , the chin , you know , it's something I struggle with .
So if you struggle with it , then you have my sympathy because I'm struggling with it myself .
Now , um , let's go ahead and drop in the hair , the neck and the shoulders , uh , in time lapse and then um maybe we'll be ready to move on to that uh face and profile .
All right .
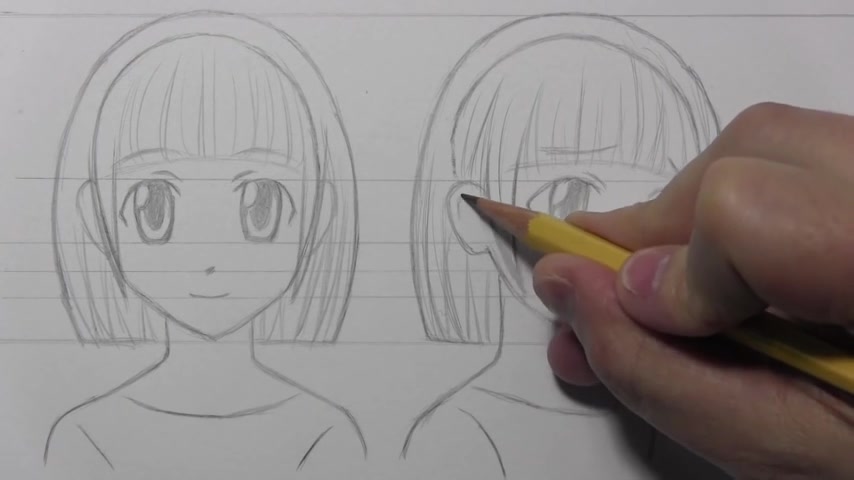
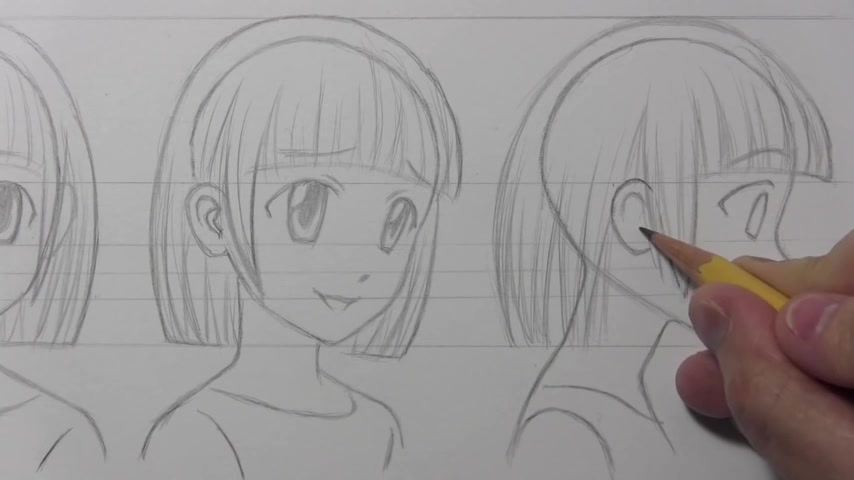
Well , before I move , actually on to that , uh next one , I think I will say just a little word about drawing the lines of the ears .
It's kind of funny because um uh manga artists very often have a way of drawing ears that are not super accurate to real human anatomy .
And they'll have uh this line here connect uh to um these lines and create a sort of looping around , um you know , type of uh uh line combination that if you look at photographs of the human ear is not really reflecting reality .
But , hey , you know , that's not what manga illustration uh is all about .
You're um really um stylizing things and giving it your own flair basically .
So , um I think that basically is enough for this one .
You can see how it does uh hopefully look like the same character even though uh we have tilted the head in to a different uh angle .
Let's go ahead now and uh shift the camera so that we can draw the face and profile .
All right .
So I got the basic guidelines of the eye in place .
Now , of course , in profile , the eye looks quite different .
Um uh But also in this case , it looks extra different because I'm gonna give her a look of surprise .
Um And so maybe I can go ahead and put the uh eyebrows in here , raised eyebrows , of course , the internationally recognized symbol of surprise , shock dismay .
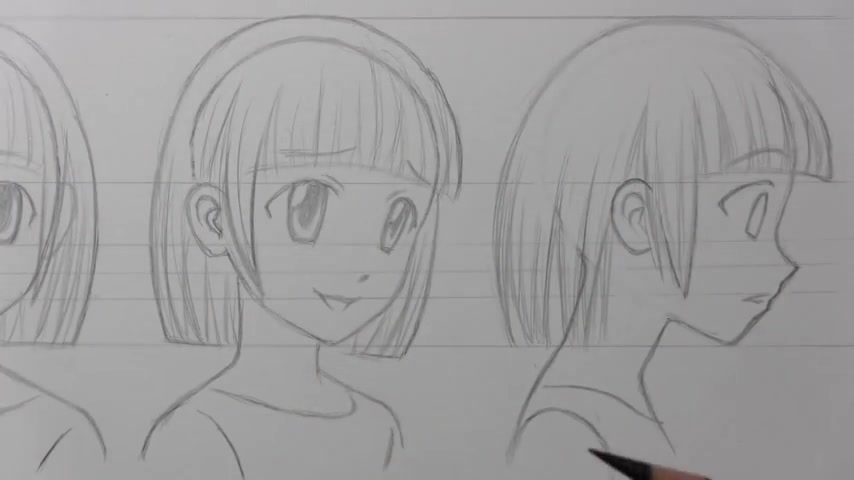
Um And uh now it's time to do one of the toughest parts of a um drawing and profile .
Um And you know , it helps if you can follow along and get this basic uh shape in place .
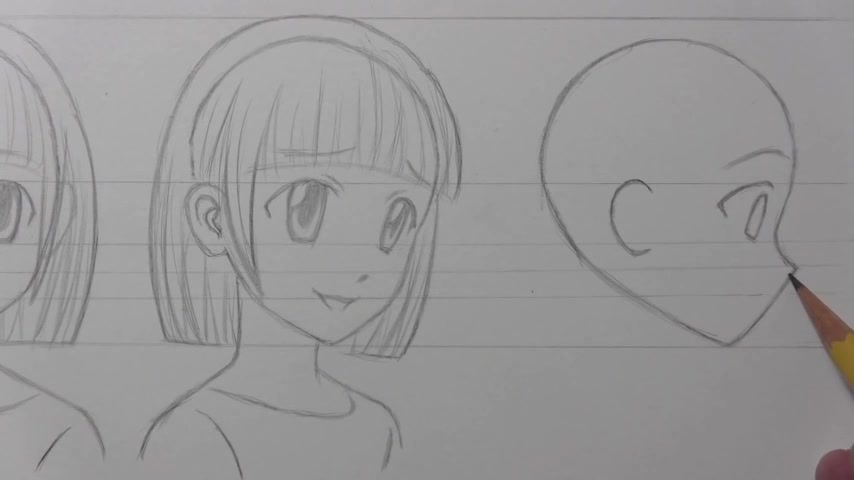
But you need to um get the between the tip of the nose , which again is on this , the same line that we established to begin with uh between the tip of the nose and going down to the chin .
Um You're gonna have to get a very subtle line in place that is uh delineating the uh the lips .
Now , uh I say very subtle because um my artists do not make this line in a super pronounced way .
It's a very uh gradually uh flowing type of a line .
Um And , and it's almost as if you , you've made one single line that sort of wobbles back and forth a little before it gets down towards the uh area of the chin .
Uh Hopefully this is showing up , but uh I would say the , the longest sort of flat area of this line is indeed down near the chin and the sort of wobbly area of the lips is happening right there .
And I'm just gonna put in a um simple almost V shape here for uh her open mouth just a little bit , a little bit off to one side .
I'm not gonna have that line connect to the contour uh of her lips .
And um yeah , that's um you know , pretty tricky .
Even getting this basic shape of the head and profile to begin with is pretty tricky .
But hopefully these horizontal lines uh can help you , you know , get that uh in the right place .
So let's go ahead now and uh quickly add uh the um basic hair and neck and shoulders guidelines .
All right .
Well , we've got the basic guidelines in place .
Uh And really that is the , the heart and soul of this video is the placement of lines .
This is not gonna be about the final line work or about the shading .
Um You know , if you want to see a video uh about that , go ahead and uh request it in the comment section .
Although , you know , I've done 300 videos or more now and some of them at least are devoted uh to shading uh and the final polish and so forth .
So , you know , I don't know if I'm gonna do this particular video a second time , uh simply to show the final process in real time or whatever .
But , um , uh let's see if I can give any final pointers here .
You know , of course , as I said , the , the , the , the line of the top of the scalp basically is gonna vanish in all of these videos gonna make that go away .
And then also this , uh , was a guideline for getting the shape of the head right ?
But it's not really necessary once you've got that in place .
So um maybe that gives you all you need to know um about drawing a character from different points of view with different facial expressions and having it look uh consistently uh to be the same character .
Let me go ahead and refocus the camera so that we can see everything .
And then I'm gonna pull out my trusty black prisma color total and do my old school technique of the final line work with the black Prisma color and shading with the Dixon Tada road .
All right .
Well , there's my video on how to draw the same character from three different points of view .
But of course , this video is not finished until I add the blesses .
This time , I get to add the blushes on three different characters in one video , not different characters , same characters , but that still may be some kind of a record I think in Mark Curly video .
History .
Oh , hang on , I gotta get the books .
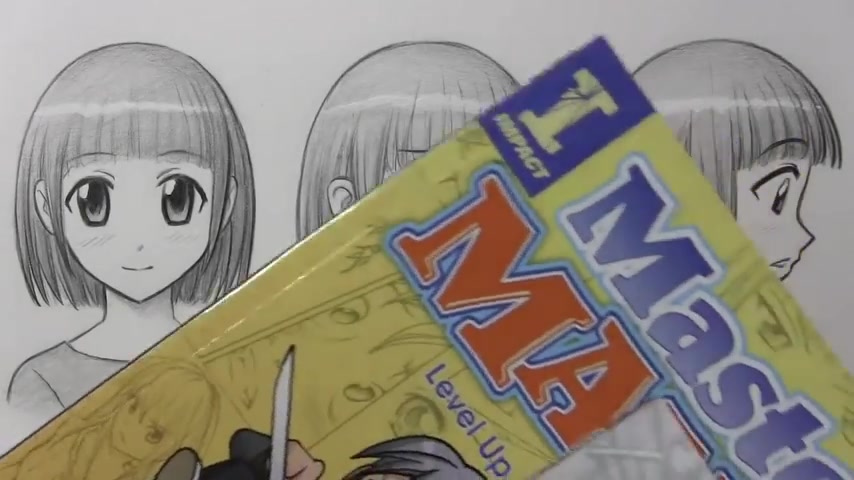
Can't end this video without thanking anyone who supported me by getting any of my books .
Brody's Ghost Book five .
It's finally out .
Uh Mikki Falls as well as mastering manga one and mastering manga two really do greatly appreciate the support of those who helped me out by getting those books .
But let's go ahead and pick up this pencil so that I can lay it down and thank you one more time for watching this video .
I really hope you enjoyed it and I'll be back with another one real soon .
Are you looking for a way to reach a wider audience and get more views on your videos?
Our innovative video to text transcribing service can help you do just that.
We provide accurate transcriptions of your videos along with visual content that will help you attract new viewers and keep them engaged. Plus, our data analytics and ad campaign tools can help you monetize your content and maximize your revenue.
Let's partner up and take your video content to the next level!
Contact us today to learn more.